In the world of digital photography and editing, small enhancements can make a massive difference to the overall look of an image. One such enhancement is the photeeq lens flare a versatile effect that can add depth, drama, and a cinematic feel to photographs. By using Photeeq, photographers and content creators can simulate realistic lens flares without the challenges of capturing them naturally in-camera.
This guide will explore what a photeeq lens flare is, how it works, and the best ways to use it effectively for eye-catching results.
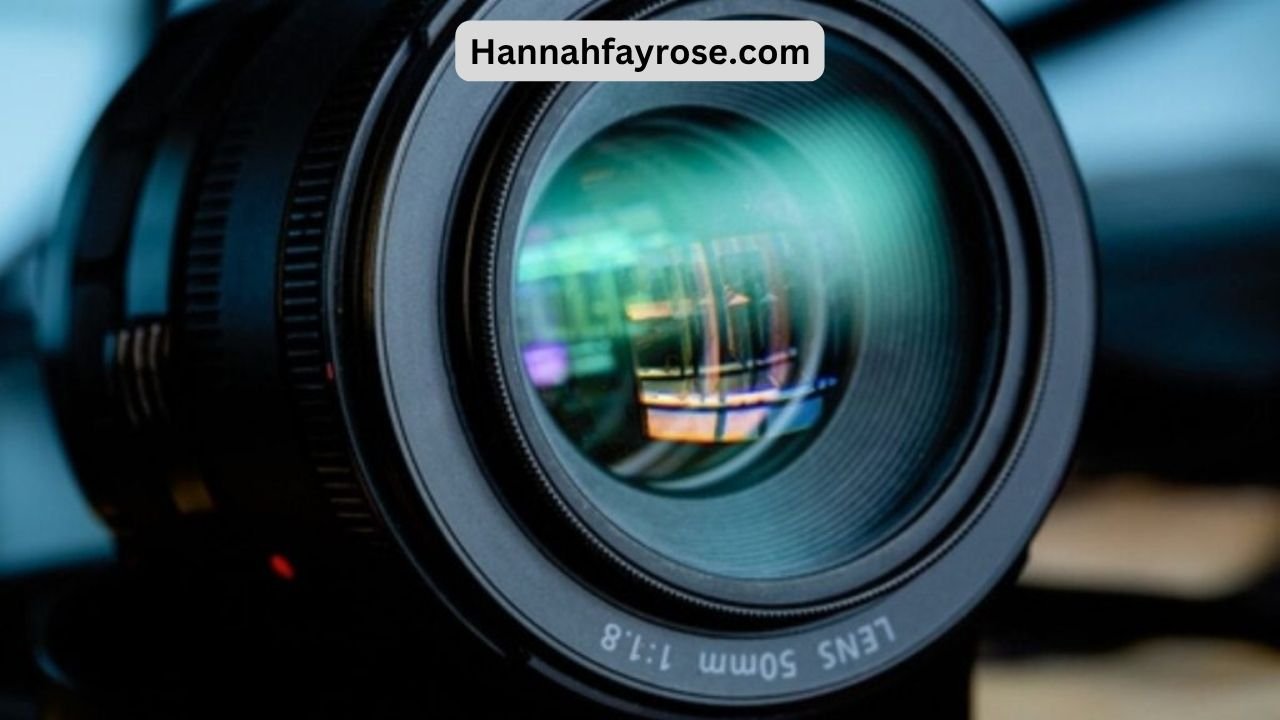
Understanding the Photeeq Lens Flare Effect
A photeeq lens flare is a digital editing feature that allows you to create or enhance the natural scattering of light in a photograph. Normally, lens flares appear when a bright light—such as the sun or a streetlamp—directly hits the camera lens, causing visible streaks, halos, or glow spots. While beautiful, natural lens flares are unpredictable and can be difficult to capture perfectly.
Photeeq solves this problem by offering customizable flare effects that can be applied in post-production. This gives photographers complete control over intensity, placement, and color.
Why Photographers Use Photeeq Lens Flare
The photeeq lens flare effect has gained popularity because it offers several creative advantages:
-
Creates a Cinematic Feel – It adds a movie-like glow that makes photos look polished and professional.
-
Sets the Mood – Warm golden flares can create a romantic feel, while cooler tones can make images look mysterious.
-
Draws the Eye – Strategic placement of a flare can guide viewers toward the main subject.
-
Adds Atmosphere – It can transform a flat-looking scene into one that feels alive and vibrant.
How to Apply a Photeeq Lens Flare Step-by-Step
Applying photeeq lens flare isn’t complicated, but getting it right requires attention to detail.
Step 1: Select the Right Image
Choose a photograph with a visible light source or an open background. Flare effects look more natural when there’s already some brightness in the frame.
Step 2: Open in Photeeq
Import your photo into the Photeeq editor. You’ll have access to a range of preset flares.
Step 3: Pick a Flare Style
Select a flare design that matches the tone of your image—subtle streaks for soft portraits or bold bursts for dramatic landscapes.
Step 4: Adjust Position and Brightness
Move the flare so it aligns naturally with your light source. Adjust brightness and opacity until it blends seamlessly.
Step 5: Match the Color
Ensure the flare color complements your image—warm yellow for sunsets, cooler hues for nighttime shots.
Pro Tips for a Natural Photeeq Lens Flare Look
A photeeq lens flare can make or break an image depending on how it’s used. Follow these tips for the best results:
-
Align with Light Direction – The flare must appear where the light originates to maintain realism.
-
Use Low Opacity – A soft, semi-transparent flare often looks more believable than a harsh, bright one.
-
Avoid Overcrowding the Image – Too many flares can make the picture look messy.
-
Combine with Gradient Filters – This creates depth and smooth transitions between light and shadow.
Creative Applications for Photeeq Lens Flare
The versatility of photeeq lens flare means it can be used in multiple photography styles:
-
Wedding Photography – Adds a dreamy, romantic glow to couples’ portraits.
-
Landscape Shots – Enhances sunrise or sunset images with a golden burst.
-
Urban Photography – Creates a cinematic city-night vibe with subtle light streaks.
-
Fashion Photography – Gives editorial images a soft, glamorous shine.
-
Social Media Content – Makes posts more visually appealing and shareable.
Mistakes to Avoid with Photeeq Lens Flare
While this effect can be stunning, overusing it can harm the visual quality of your work. Common mistakes include:
-
Placing flares in shadowed areas – This looks unnatural because light wouldn’t appear there.
-
Over-brightening – Too much intensity can wash out details.
-
Ignoring Color Harmony – A flare that doesn’t match the image’s tone can appear out of place.
-
Repetitive Use – Using the same flare style repeatedly can make your work predictable.
Photeeq Lens Flare vs. Real Lens Flare
Some photographers prefer capturing real flares in-camera, while others rely on photeeq lens flare for precision.
-
Real Lens Flare – Authentic but unpredictable, requiring perfect lighting conditions.
-
Photeeq Lens Flare – Fully controllable, allowing exact placement and style adjustments.
Many professionals combine both approaches capturing natural light when possible, then enhancing it digitally for the perfect finish.
Conclusion
The photeeq lens flare is more than just a visual decoration it’s a creative tool that can transform the mood and impact of your photos. Whether you want to give your images a romantic sunset glow or a bold cinematic shine, Photeeq makes it easy to add professional-quality flares without complex lighting setups.
By applying the effect thoughtfully matching the light source, controlling brightness, and maintaining color harmony you can create photographs that feel polished, artistic, and unforgettable.